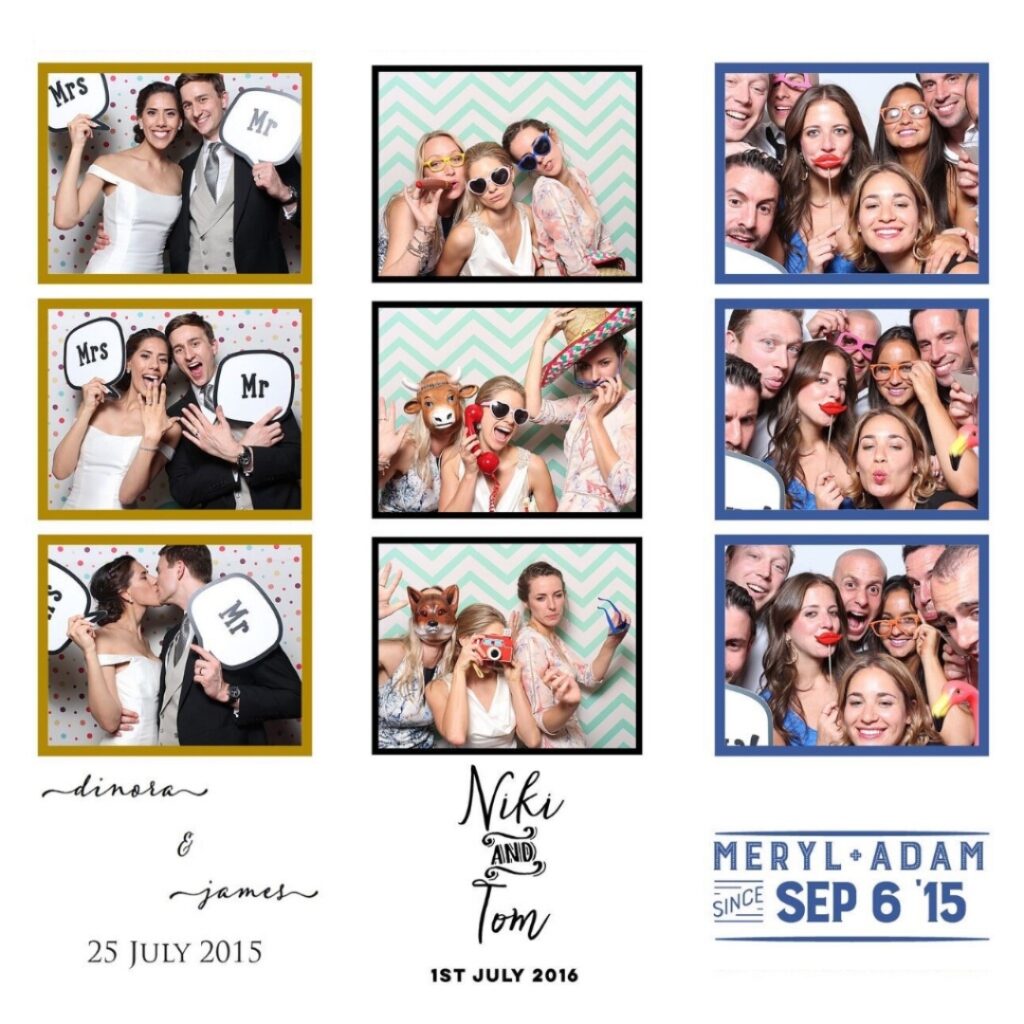
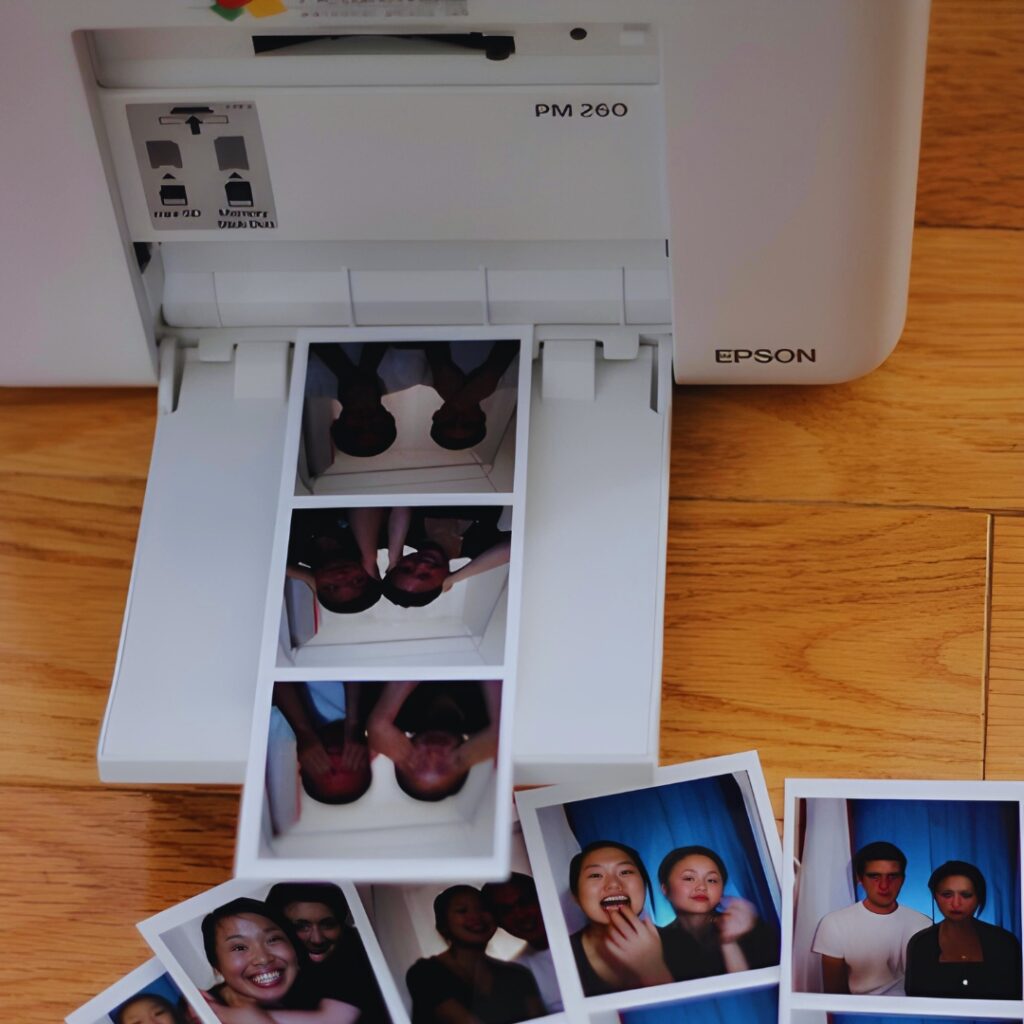
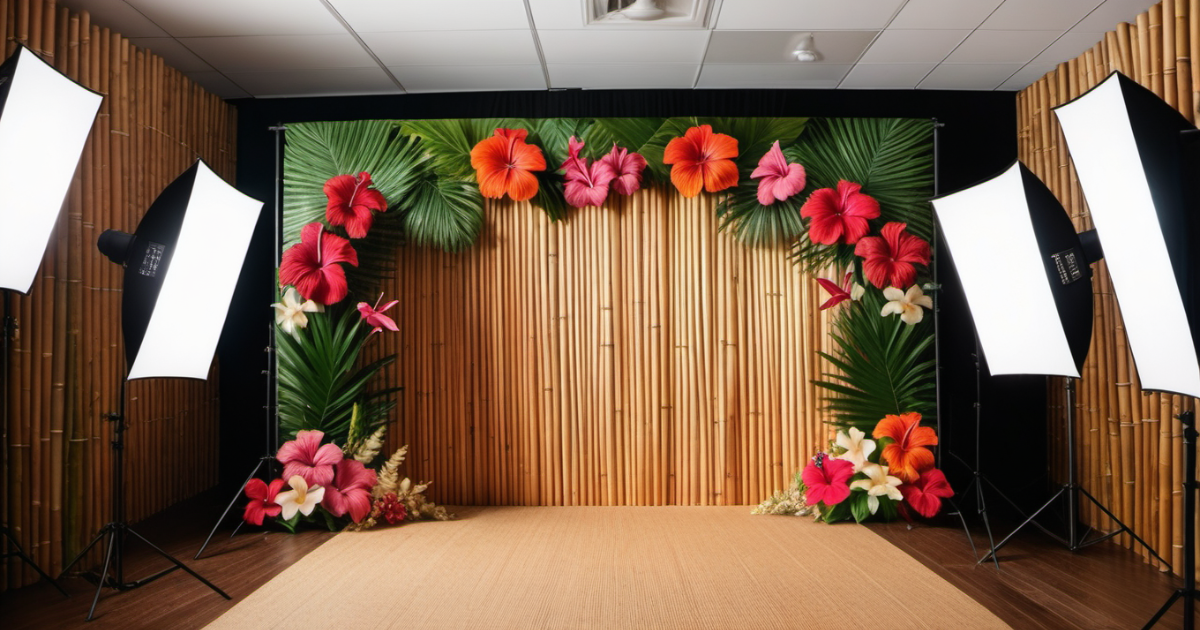
Printing photo booth strips at home can often end up more frustrating than fun. A surprising fact is that with the right tips and tools, anyone can produce professional-quality strips.
This article will guide you through choosing printers, selecting paper, and applying DIY techniques to achieve perfect photo booth prints every time. Let’s dive in!
Tips for Printing Photo Booth Strips

When printing photo booth strips, choose a high-quality printer that can handle the specific demands of photo printing. Select the right paper for your prints to ensure durability and professional appearance.
Adjust the printer settings for optimal color saturation and clarity in each print.
Also Read: How to Successfully Launch a Profitable Photo Booth Business
Choosing the right printer
Selecting the perfect printer for photo booth strips combines understanding your needs with knowledge of printer capabilities. For vibrant, lasting prints, opting for a color photo printer is a smart move.
Wireless printers bring convenience by reducing clutter and simplifying setup, making them an excellent choice for parties or events where space and time are at a premium.
Consider factors like print speed, quality, and ease of use when selecting your photo booth strip printer. Look into models specifically designed for photo-quality outputs to ensure your images pop with the retro photo booth style many love.
Quick production times are crucial if you’re printing on-demand at events, so prioritize printers that can deliver high-quality prints swiftly without sacrificing clarity or color accuracy.
Selecting the right paper
Choosing the proper paper for printing photo booth strips is crucial. Your choice can affect the final look and feel of your photos. Glossy photo paper often delivers vibrant colors and a shiny finish, making it a popular option for those lively party snapshots.
However, if you’re aiming for a vintage or matte look, consider using matte finish paper. This type offers less glare and gives your photo strips a sophisticated, timeless appearance.
Keep in mind that thickness and durability also play significant roles in selecting paper for your DIY photo booth prints. Thicker paper tends to withstand handling better, ensuring that your memories last longer without easily getting bent or torn.
For an authentic photo booth strip experience, opt for paper specifically designed for photo printing to achieve professional-quality results right at home. Always match the paper type with your printer’s specifications to avoid jams or poor-quality prints, enhancing the overall success of your DIY project.
Also Read: Uncover the Magic: How Does A 360 Photo Booth Work?
Adjusting settings for high-quality prints
To ensure your photo booth strips look their best, fine-tune your printer settings before you start. High-quality prints often require adjustments beyond the default options. Start by selecting the highest resolution available to capture every detail of your photos.
This ensures that both old photos and new designs appear crisp and clear on the strip.
Next, consider adjusting color settings for accuracy. Photo booth film strip colors should pop without looking oversaturated or faded. Test print a few strips to find the perfect balance between brightness and contrast, making sure each picture within the booth picture strip layout stands out just right.
These steps help guarantee that your DIY photo booth picture projects turn heads for all the right reasons.
Tricks for Creating Unique Photo Booth Strips

Create eye-catching photo booth strips by adding custom designs or logos to make each strip unique. Experiment with different printing techniques to give your photo strips a distinct and personalized touch.
Adding custom designs or logos
To add a personal touch to your photo booth strips, create custom designs or incorporate logos that reflect the theme of your event. Select high-resolution images and use design software like PicMonkey to overlay graphics onto the photo strip template.
Customize the layout, colors, and fonts to match your branding or event decor.
Experiment with different printing techniques such as adding borders or frames around the photos and incorporating unique elements like stickers or illustrations. Utilize online design tools to enhance your photo booth strips with creative flair, ensuring they stand out and leave a lasting impression on your guests.
Also Read: How To Create A Stunning DIY Photo Booth Backdrop On A Budget
Using different printing techniques
Experiment with various printing techniques to add a unique touch to your photo booth strips. Explore options such as using different paper finishes, like glossy or matte, for varied effects.
Consider trying out alternative printing methods such as lenticular or metallic prints for an eye-catching result that will make your photo booth strips stand out from the crowd.
Delve into the world of specialty inks and coatings, including metallic, fluorescent, or glow-in-the-dark options, to create striking visual elements on your photo booth strips. Implementing UV spot varnish can also elevate the overall appearance of your prints.
DIY Techniques for Printing Photo Booth Strips

To print unique photo booth strips, create DIY photo booth strip templates or use online photo booth strip generators for custom designs. Experiment with various printing techniques to achieve personalized and professional-looking photo booth strips.
Creating DIY photo booth strip templates
To create DIY photo booth strip templates, follow these steps and unleash your creativity:
- Begin by choosing a photo editing software or an online template maker that suits your skill level.
- Select a layout for your photo booth strip, whether it’s a classic filmstrip style or something more modern.
- Customize the dimensions and spacing to fit the specific photo booth strip printer you’ll be using.
- Add personalized elements such as text, graphics, or themed borders to make the template unique for different events.
- Save your finished template in high resolution and share it with friends, clients, or use it at your next event to impress guests with custom designs.
Also Read: How Much Does It Cost To Rent A Photo Booth?
Using online photo booth strip generators
To utilize online photo booth strip generators, follow these steps:
- Select a reliable and user – friendly online generator that matches your creative vision for the photo strips.
- Upload your desired images to the generator and explore available customization options such as layouts, backgrounds, and text overlays.
- Experiment with different templates and design elements to personalize the photo booth strips according to your event or theme.
- Adjust the crop, rotation, and sizing of the images within the generator to ensure optimal placement and visual appeal on the strips.
- Preview the final version of the photo booth strips before proceeding to download or print, ensuring that they meet your expectations in terms of quality and aesthetics.
Conclusion
In conclusion, mastering the art of printing photo booth strips is a blend of choosing the right printer, paper, and settings. Customizing photo strips with designs or logos adds a unique touch.
The DIY approach offers creativity through templates and online generators. With these tips, tricks, and techniques in hand, unleash your imagination to create stunning photo booth strips that will leave a lasting impression.
FAQs
What do you need to print photo booth strips?
To print photo booth strips, you’ll need a printer capable of handling photo strip sizes and templates, high-quality paper, and possibly a film strip template. Ensure your photos are ready with either square or circle crop depending on the design.
Can I create my own photo booth strip ideas?
Absolutely! You can design your own photo booth strips using various software programs that allow customization of sizes and templates. Let your creativity shine by experimenting with different types of photos and layouts.
How do I choose the best printer for printing my photo booth strips?
When selecting a booth strip printer, look for one that specifically mentions compatibility with printing high-quality photo strips. Reviews from users who print similar materials can guide you towards the ideal choice.
Is it possible to adjust the size of my printed photo strips?
Yes, many printers offer flexibility in adjusting settings to accommodate different sizes and templates for your ideal photo booth strips. Double-check your printer’s capabilities before starting.
How long does it take for printed photo strips to arrive if ordered online?
The delivery time for online-ordered printed photo strips varies depending on the service provider. Generally, companies give an estimated timeline which includes processing and shipping time – always check this information before placing an order.


